
Make A Test Site

Why Would You Do That?
Creating a new repository might be a wise decision if you want to try adding something new to your blog like a video or a gif but you don’t want to risk breaking your site. It’s also a good idea to have a test website in case you need to write code to test out your ideas.
In this tutorial I’ll show you how to:
- create a new repository
- name it correctly
- set it up with Jekyll-Now
Step 1: Create a new repository
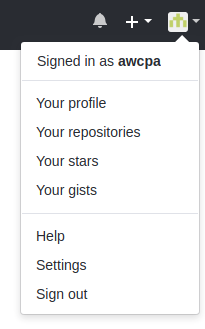
Log into your Github account, or if you’re already logged in, click on your avatar in the upper right corner of the page you’re on and click “Your Repositories” to take you to a list of the repos you already have.
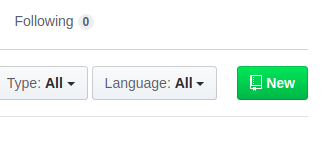
Now it’s time to create a new repository by clicking on the green “New” button.
Once you’re there, add a repo name like test-blog, a description like my code playground, leave the rest alone and click the green create repository button.

Install Jekyll-Now
We’ve already forked Barry Clark’s Jekyll Now to our main repository – the one that makes our blog. To get Jekyll Now to work on our test blog we need to do something different.
Set Up Jekyll Now
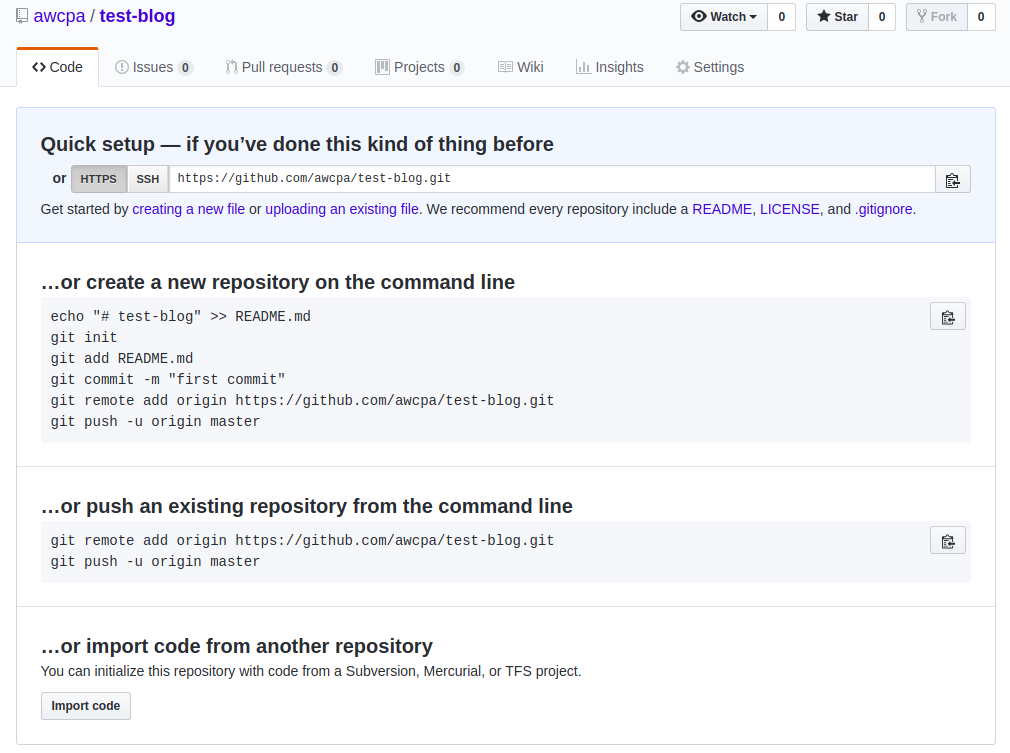
- At the bottom of your
Quick setuppage clickImport Code. - In a new browser tab, open your main repository – mine is called
awcpa.github.io - Click on the green
Clone or Downloadbutton - Copy the URL (website address like
https://blahblahblah.com) you see there. - Go back to the
Quick setuppage and paste your URL in the box that says,Your old repository’s clone URL - Click
Begin import - Be patient – this can take a while
Now what?
Your new test blog should look identical to your working blog. Feel free to write code, move things around, and break stuff! If you figure out how to add some new code or functionality, repeat the process and copy/paste your working code to your main blog and enjoy!
:+1: